- To carry out Asbestos sampling safely
Our Step by Step Asbestos Sampling Guide
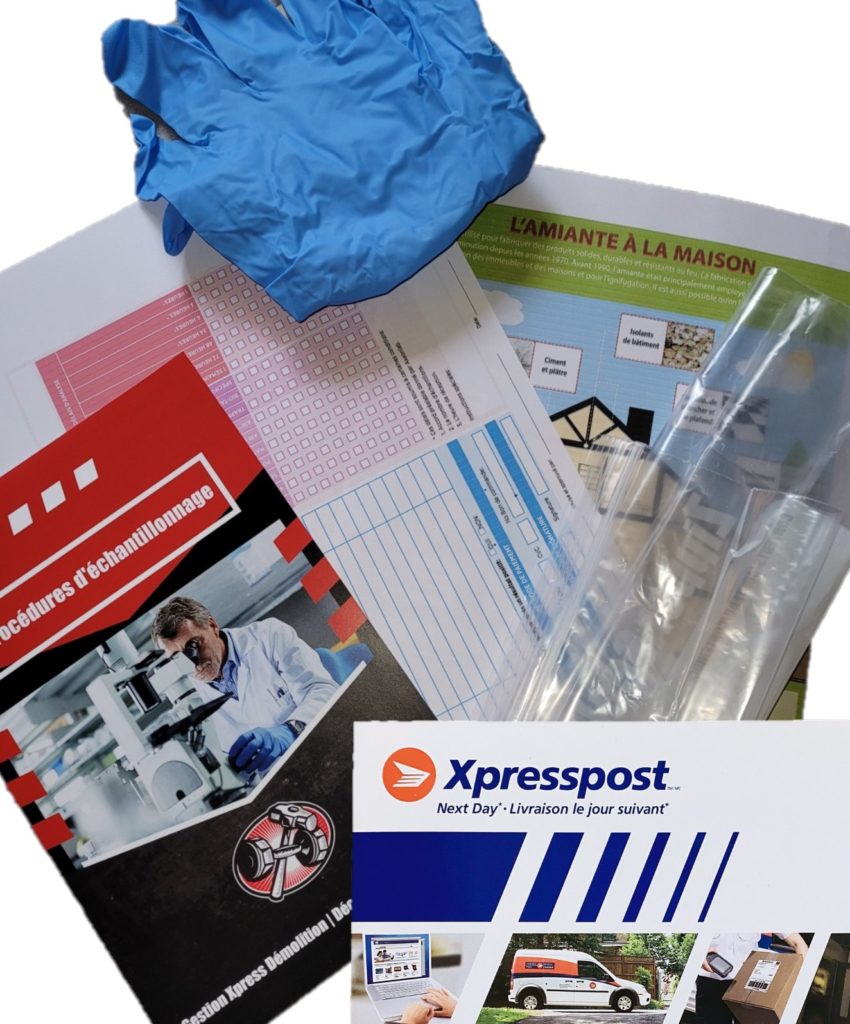
Asbestos Sampling Guide for Asbestos testing
Sampling Guide
After receiving your asbestos sampling kit, make sure you follow the following steps to proceed with sampling safely.
Before proceeding with sampling materials that may contain asbestos, it is important to know the safety protocols and sampling methods. This tutorial will guide you step by step through the sampling process
First of all, you need to choose the sampling locations. You should look around the area where materials likely to contain asbestos (MSCA) are located and choose the following places: walls, ceilings, pipes and insulation.
The sampling process must be carried out with extreme caution. You should wear appropriate protective clothing including goggles, respirator and gloves to reduce the risk of exposure to asbestos fibers.
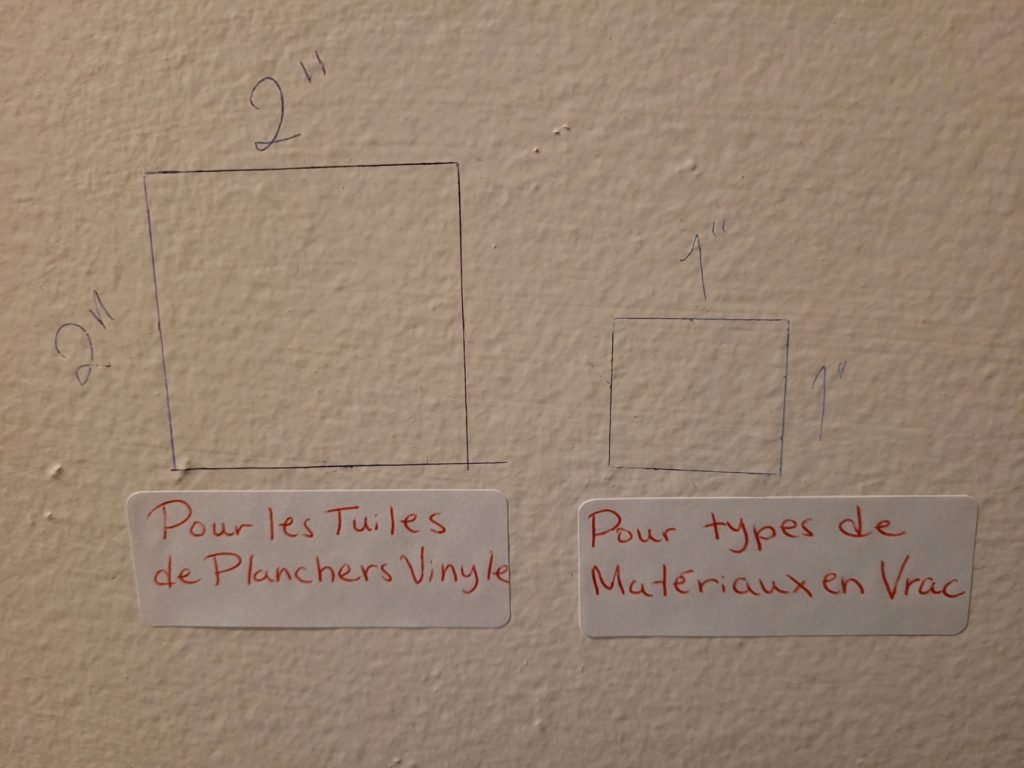
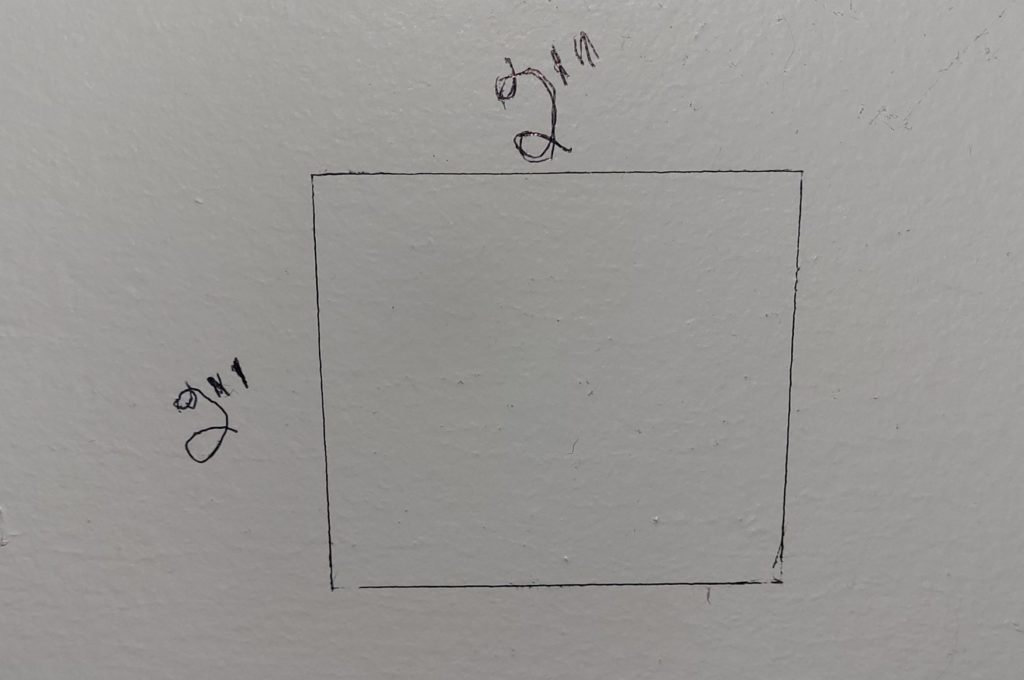
Step 1: Choose where you are going to take the asbestos sample.
You will need to take the sample from an area that is as representative as possible of the material in question. Trace your cutting guide. Your cut must be 2” x 2” or at least 1” x 1” in diameter. Mark the location where the sample will be taken but stay away from electrical outlets or lighting fixtures.
Important: For vinyl and linoleum tile samples, must be 2’’ x 2’’.
Step 2: Prepare the place where you will take the asbestos sample.
After making your marking, prepare the part. Close the door if applicable. Make sure the area is clean and clear before sampling. Before cutting, equip yourself with the gloves that are included in the kit, a pair of safety glasses, a mask and wear clothing that covers the entire body.
Step 3: Proceed with asbestos sampling
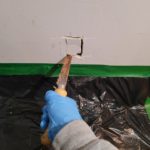
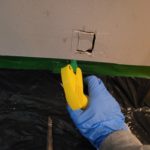
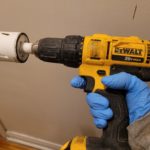
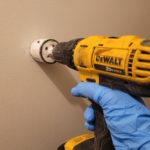
Use a suitable tool to take the sample. The type of tool you use will depend on the nature of the sample. Take care to moisten the materials well to avoid the spread of dust between each cut.
- Spray before cutting
- Spray between each cut
- Cleaned the area when finished
NOTE: If more than one sample is taken, take care to clean your tool between each sampling to avoid contamination of the different samples.
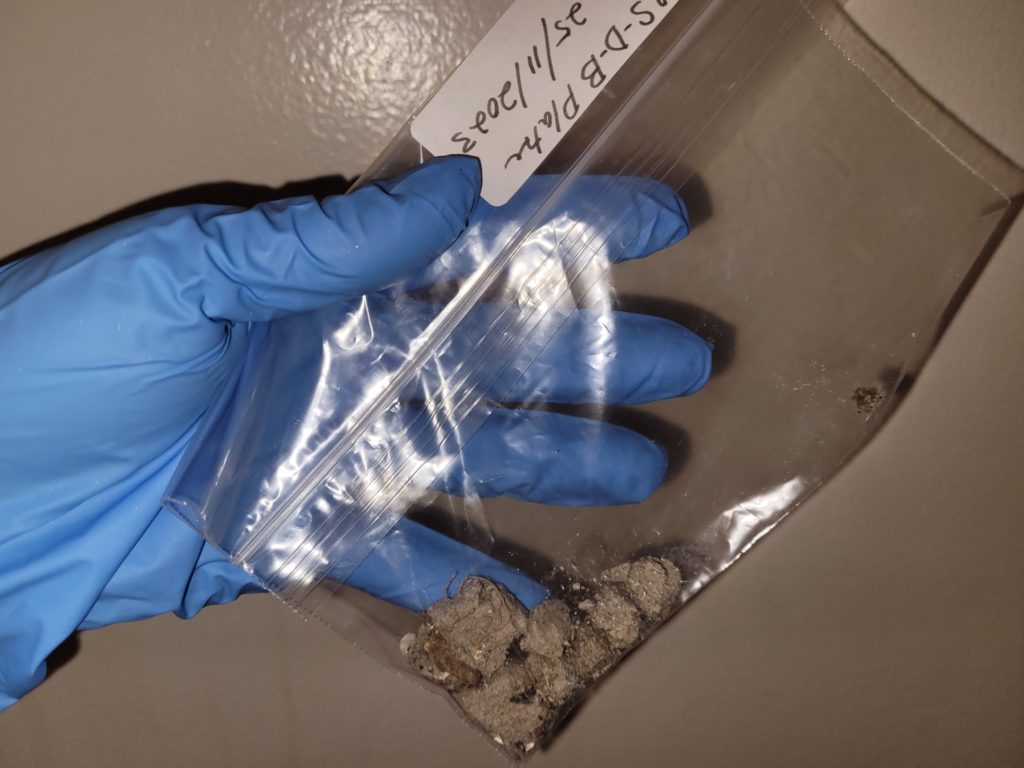
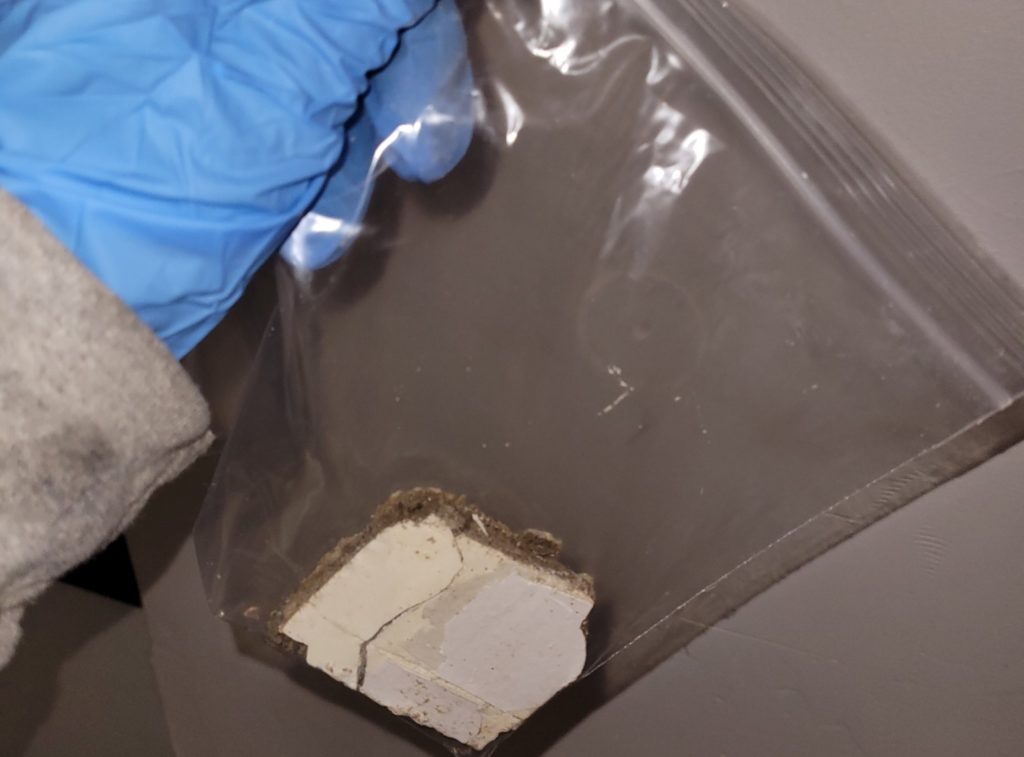
Step 4: Packaging and labeling the sample.
Once you have taken the sample, place it in the sample bag provided with the kit. Close it tightly. Clearly label the sample bag with the necessary information, including date, location, or other relevant information.
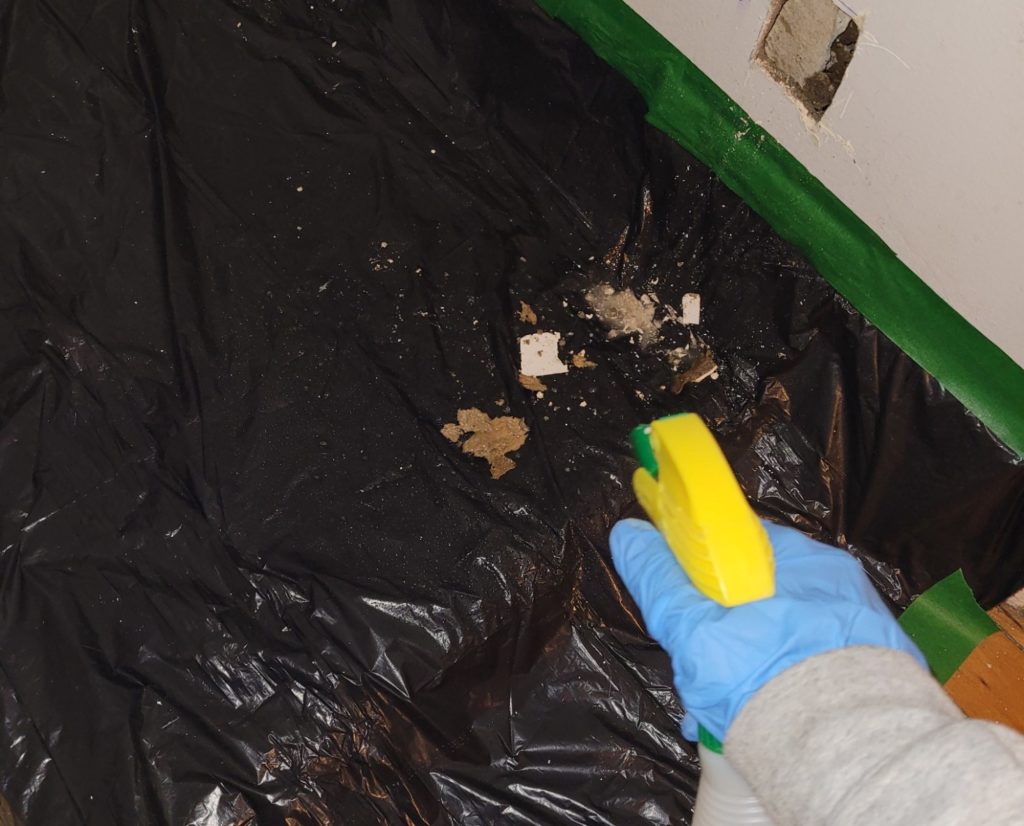
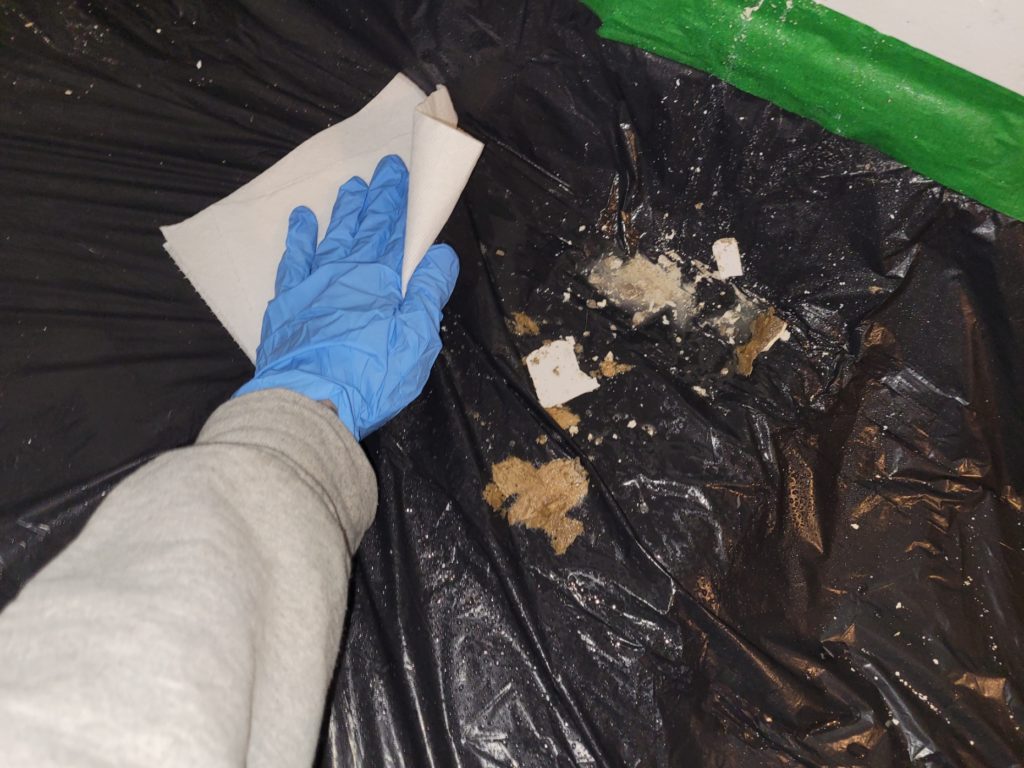
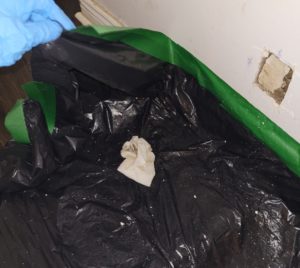
Step 5: Clean the area | watch out for asbestos fibers
Once sampling is complete, it is important to clean and disinfect the area where you collected the sample. Use a household cleaner or other suitable cleaner to thoroughly clean the area. Spray debris to prevent the spread of dust
- Clean the area thoroughly with a damp cloth after collection.
- Avoid using a regular vacuum cleaner, as this may disperse asbestos fibers into the air.
Asbestos sampling can be a complex process, but by following these steps, you will be able to properly collect samples and protect yourself from exposure to asbestos fibers. Remember to always use caution when handling materials that may contain asbestos and follow all safety protocols when sampling for asbestos.
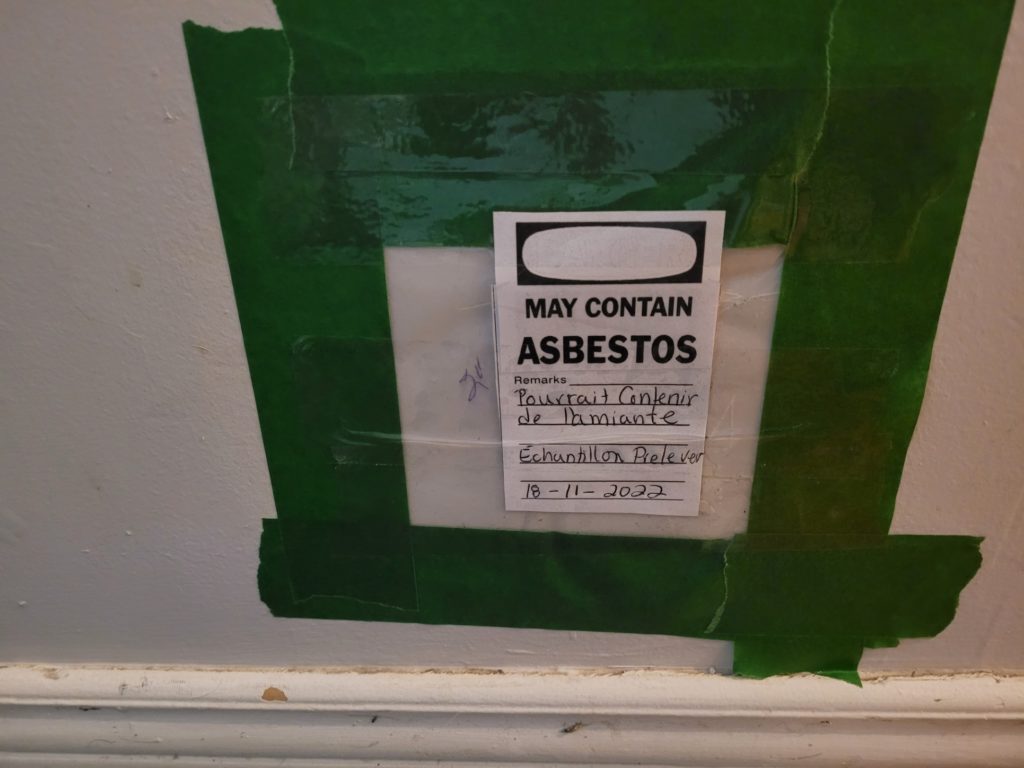
Step 6: Seal the opening
To prevent asbestos fibers from escaping, you must seal the area where you took the sample using plastic wrap. This will keep the area clean and prevent contamination of other materials.
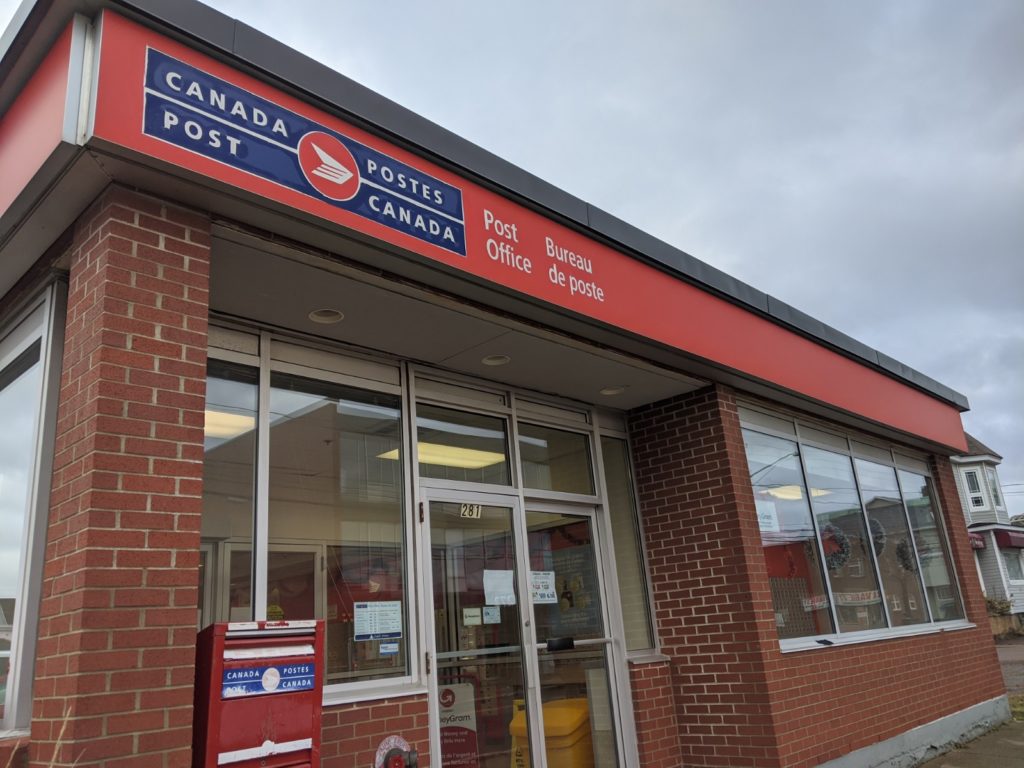
Step 7: Shipping the sample to the Asbestos Testing Lab
Once the sample is ready, place it in the Xpress-post envelope with the laboratory form. The form must include your first and last name and postal address as well as a brief description of the sample and the date of collection. You can then drop off the prepaid envelope at your postal counter. We will send you the certificate of analysis within 48 hours of receipt at the laboratory.
We work in close collaboration with asbestos laboratories accredited by the IRSST so that you can obtain reliable and relevant results as well as a detailed analysis report. The analysis time is 48 hours. As soon as we receive the result, we will send you the certificate of analysis by email.

